

The Ultimate 'How-To' Guide For Using S16 Deluxe Soy Wax By A Master Candlemaker
The Ultimate 'How-To' Guide For Using S16 Deluxe Soy Wax By A Master Candlemaker
The shopping list
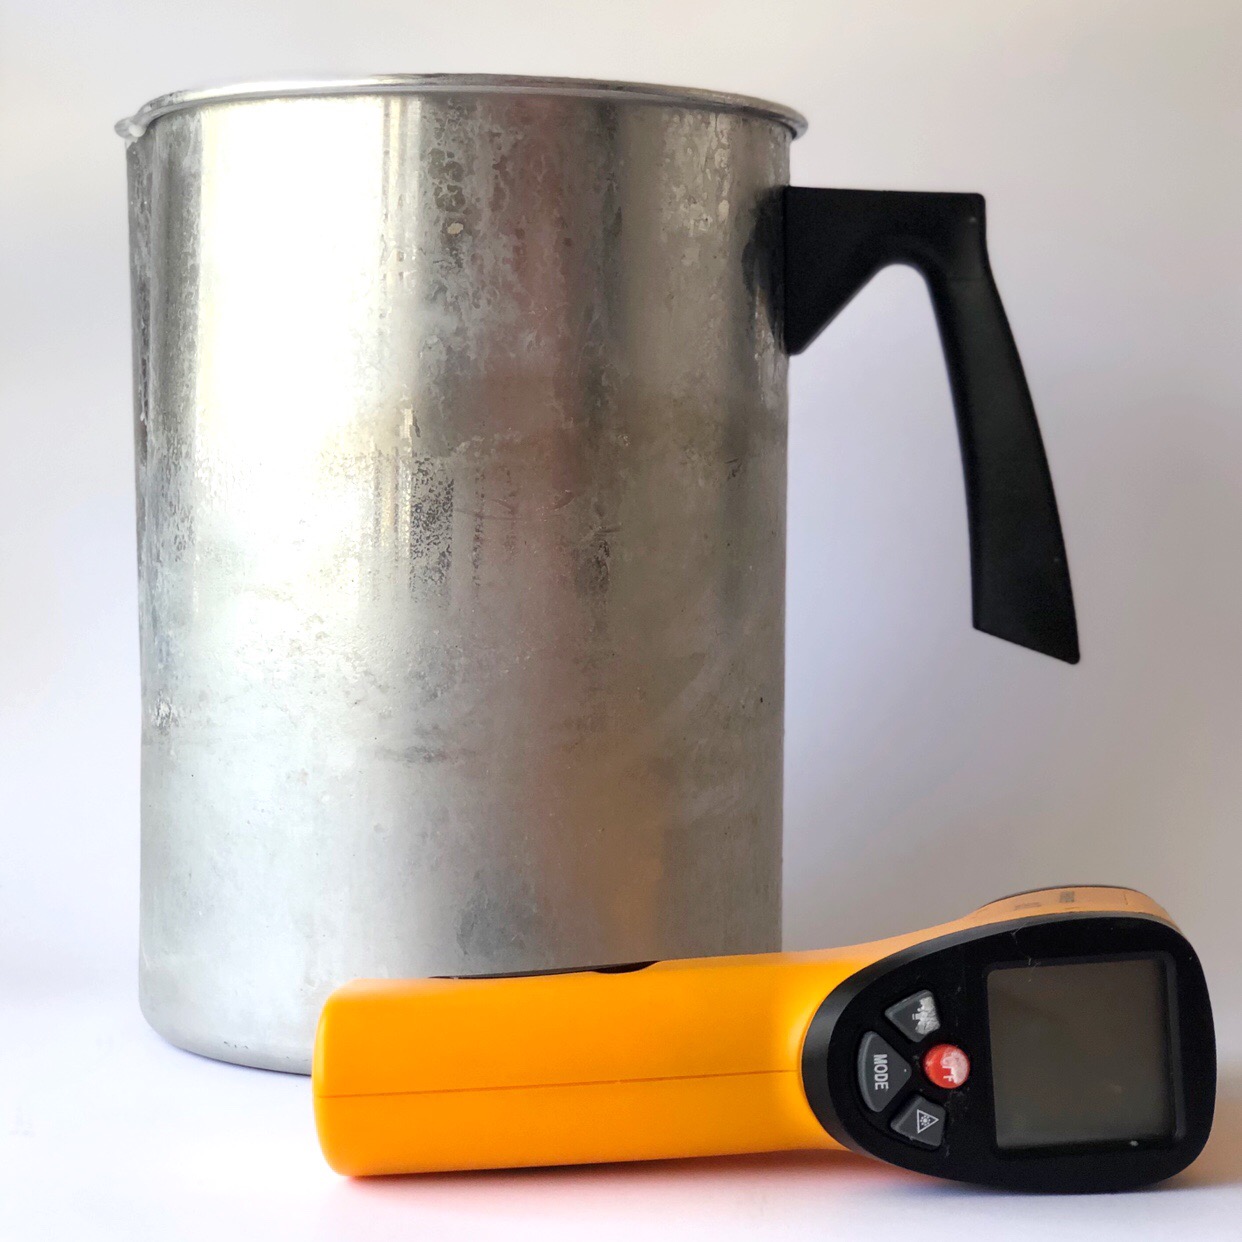
Double boiler (melting pot for your wax and a large pot to be filled with boiling water)
Digital Measuring Scales
S16 Deluxe Soy Wax
Fragrance (of your choice)
Wick (check out our wick blog for how-to choose the right wick!)
Hot glue or stick-ems
Clean candle glass
Wick holder / paddle-pop stick holder and peg
Thermometer (classic or a new fan-dangled digital thermometer)
Stirrer (I use thin wooden skewers)
Pouring jug (any jug with a lip to pour from)
Making a candle is part science, part art. There are creative elements, like choosing the type of wax, glassware, wick, fragrance, colouring and then the technical aspects involving ratios, measurements, timing and temperature. It’s a rewarding practice that takes time to master, but through research and testing, it’s easier than ever to create your own professional quality soy wax candles.
Let’s work our way through the steps of using the S16 Deluxe Soy Wax to make better candles.
Be Prepared: The Scout Motto
Once you have wax melting on the stove, you’ll be on the clock and don't want to be faffing about with candle glasses. It’s best to have your preparation finished so you can focus on moving through each step on time.
Ensure your glasses are clean to start with. A trip through the dishwasher can make all the difference (be careful doing this with coloured glass, as paint or heat proof coloured film can flick off or chip), or use some elbow grease to get rid of any dirt or dust and give you the best starting point for your candles. Now is a great time to make sure there are no cracks or lines in the glassware. Before they got to you, your glasses may have travelled great distances and if they weren’t packed well, you may have chips or cracks. What starts as a small line in the glass can end up making a waxy mess so please heed my advice and do not use it!
To keep the wick still, fix it to the centre of the bottom of the glass. Some people use ‘stick-ems’ or glue dots, but most professionals use a hot glue gun to fix them down. My glue of choice is vegan-friendly too!
Your wick will likely flop to the side, so let’s straighten it with a wick holder and a peg. Paddle-pop wick holders are a cheap option or you can invest in the metal wick holders. Pull the wick through and hold firmly, then keep the wick still with a peg.
Pop your glasses in a large tray which serves to catch any drops of wax while you’re pouring and save your table/desk, and also reduces the damage if any glassware breaks. The chance of this happening is rare when using glassware made specifically for candles, but if you’re experimenting with other glassware (particularly with seams), it’s a good idea to take this precaution.
“Measure Twice, Cut Once”- Every Successful Tradesperson Ever
Now we can prep our wax and fragrance. The amounts of each depend on the glass size and the fragrance “loading”. Luckily for us, the team at All Seasons Wax Company have done the heavy lifting and provide a handy framework for us to work off. Check out technical specifications for your wax of choice here. These specifications have guided my working out in this blog post.
We’re using the S16 Deluxe Soy which has a recommended fragrance loading of 8-10%. This means that of our wax and fragrance combination, between 8-10% of the total can be fragrance oil. Because round numbers are easier for maths, we’ll run through the example today with 10% loading.

Pro tip: All Seasons Wax Company provide a fragrance guide for a reason! It makes no sense to overload your candle with fragrance. Soy wax already offers far-reaching scent throw and when you overload the wax, it impacts the stability of the candle, the reliability of the burn and the aesthetic of the finished product. Often, less is more, some of the most well renown candle brands in the world only fill their candles with 4-5% fragrance!
Next, let’s do some maths. You’ll need to know the total quantity your container can hold so we can figure out how much wax and fragrance we need. Some candle suppliers offer this detail on their product page, and if not you can use your digital scales to fill the glass with water to get your total.
Let’s say your glass requires 300gm to fill it.
If we’re testing a 10% fragrance load, then 10% of 300gm is 30gm.
Measure out 30gm of your fragrance oil on your digital scales. Give the bottle a good shake before you start pouring, just in case the fragrance has started to separate.
Now you have 30gm of the 300gm that you need for the whole candle, which means you’ll need 270gm of melted soy wax.
Before I start melting my wax, I write down on a little note with how much melted wax I will need. My memory is terrible, so if it’s written down it saves me thinking on it later.
Pro tip: If your fragrance contains vanillin, it’s a good idea to warm it up before you add it to your wax later. You can check the product page online to see if your chosen oil contains vanillin. We warm it up because when the fragrance oil is cool, the vanillin turns into small crystals and this can discolour your final product. By heating it, the crystals melt back into the fragrance oil and are ready to be used.
Let’s get it on: Marvin Gaye
Let’s get some water boiling in your larger pot and fill your smaller pot with wax flakes. Keep your thermometer handy (or attach to the smaller pot) so you can keep an eye on the temperature of the wax. Stirring can help the process move more quickly.
Pro tip: One reason for discolouration in the final product can be heating your wax to over 85 degrees. To avoid this, keep an eye on the temperature as you heat the wax.
For this particular wax, the suggested “melt to” range is 73-83 degrees.

Once your wax is completely liquified (and between 73-83 degrees), pop your pouring jug onto the scales and measure out the 270gm of wax that we need for our candle. Transfer your thermometer to this jug OR check the temperature with your digital thermometer.
Your melted wax will start to cool and we’ll slowly add in the 30gm of fragrance you prepared earlier.
Stir it thoroughly to mix the fragrance and wax together. Once it’s cooled to between 58-68 degrees, pour it slowly into the glass.
Woohoo! The hard work is over. Leave your candle to cure for at least 48 hours. Remove your wick holder and give the wick a trim.
Pro tip: Test pouring your candles at different temperatures to avoid sinkholes or cracks. Many variables can affect the final product, including room temperature, pour temperature, size of candles and fragrance loading.
Download and use the free testing sheet put together by All Seasons Wax Company to fine-tune your process and research how to get the best result.
Candle making is a joyous blend of the creative and the technical. This wax has proven reliable for many candlemakers, and by performing your own tests you will be able to make perfect candles every time.
____________________

Leonie is the founder of Pretty Frank (link: https://www.prettyfrank.com.au/) and has been making candles with soy wax in Sydney since 2016. She made the switch to All Seasons Wax in 2018 and loves the year-round reliability of this wax for her candles. Pretty Frank is known in Sydney for creating eco-conscious vegan-friendly soy wax candles